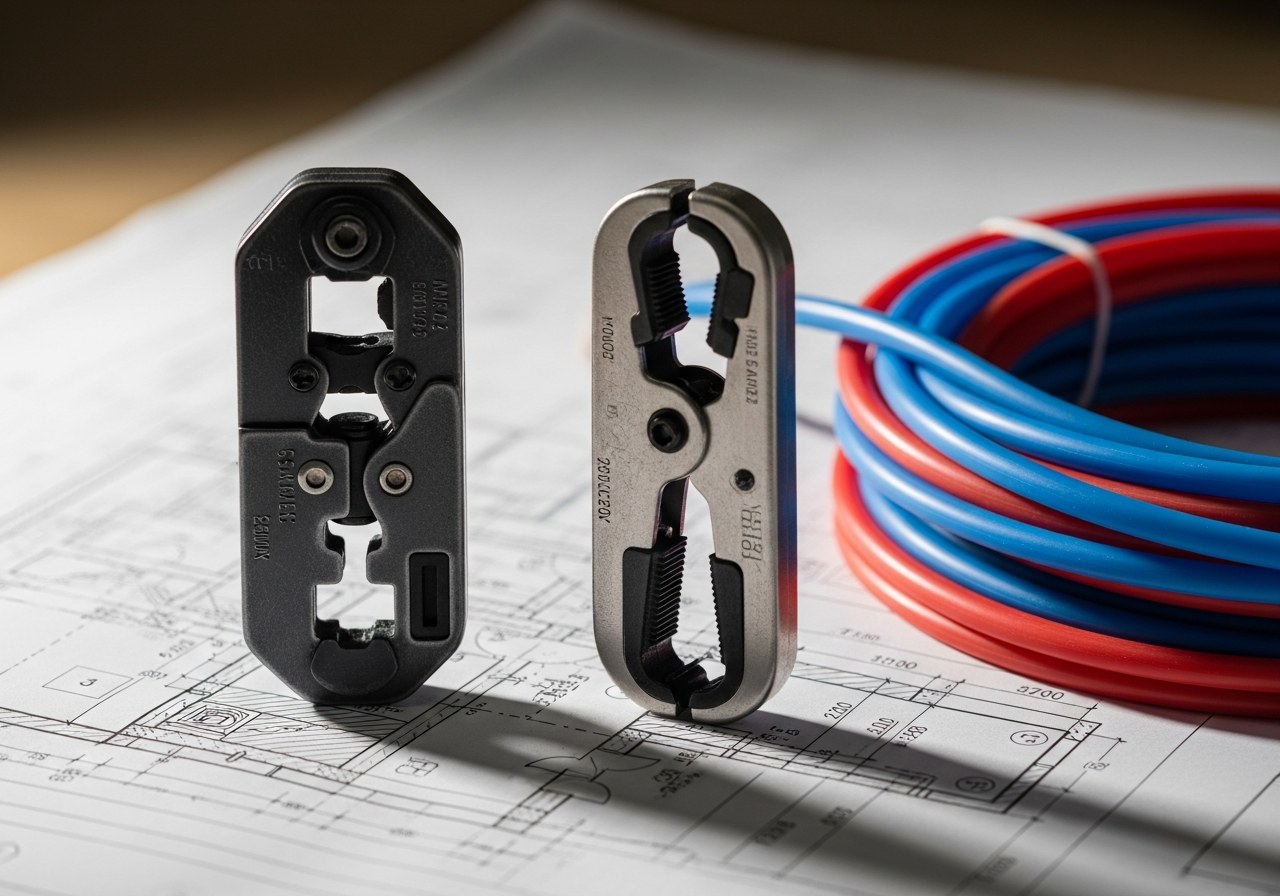
Crimp or Expand — Two Different Ways to Make the Same PEX Joint
If you're planning in-floor radiant heat or running PEX for mechanical room supply lines, you'll hit this decision fast: crimp or expand? Both make a permanent, code-compliant PEX joint on copper or brass fittings. Neither is "better" in the abstract — they're two different mechanical actions that suit different jobs, and a lot of barndominium builds end up using a little of both.
What a Crimp Tool Does
A crimp tool compresses a copper ring over the PEX tubing where it slides onto a barbed fitting, permanently squeezing the tube onto the barb. It's the older, cheaper, more widely understood method — most plumbing supply houses stock crimp rings and fittings in every size, and the tool itself is simple: line it up, squeeze, done. The catch is that a crimp joint is only as good as the crimp — too loose and it weeps under pressure, too tight and you can crack the ring or damage the tubing. A proper kit includes a go/no-go gauge specifically so you can verify every joint before it goes behind a wall or under a slab.
What an Expansion (ProPEX-Style) Tool Does
An expansion tool stretches the end of the PEX tubing with a cone-shaped head, then you slide a fitting in before the tubing's memory pulls it back down tight around the fitting's barbs — no compression ring at all. The joint gets tighter over the following minutes as the tube contracts, which is part of why expansion fittings have a strong reputation for reliability. Expansion tools cost more upfront and the technique takes a little getting used to (you have to work fast enough that the tube hasn't contracted before the fitting is seated), but there's no ring to over- or under-crimp.
Which One Fits a Barndominium Radiant Layout Better
For a radiant floor manifold with dozens of tubing runs embedded in a slab, expansion fittings are worth the extra tool cost — every joint under that concrete is effectively permanent and inaccessible, and the wider tolerance for a good joint (no crimp-force judgment call) reduces the number of variables you're trusting to get right the first time. For above-slab domestic supply lines that stay accessible behind a wall or in a mechanical room chase, a crimp tool is the more economical choice and still fully code-compliant when the joint is checked with a go/no-go gauge.
Important: PEX fitting systems aren't universal — Rehau, Uponor, and other manufacturers each certify specific fittings to specific connection methods, and mixing brands or skipping the manufacturer's approved method can void a warranty even if the joint looks fine. Confirm the approved method for whichever PEX brand your mechanical contractor specs before buying a tool.
What to Check Before You Buy
- Size range: most kits cover 1/2", 3/4", and sometimes 1" — match it to the tubing sizes actually called out in your mechanical plan, not just the most common size.
- Go/no-go gauge included: a crimp kit without one means buying a separate gauge — don't skip this check, it's the only way to confirm a crimp joint is actually good.
- Jaw angle: angled-head crimpers reach into tight mechanical room chases and wall cavities far more easily than straight ones.
One Honest Limitation
Cold weather slows PEX tubing's memory recovery, which matters for expansion joints specifically — the tube needs to contract back down around the fitting, and a job site running near freezing can leave that window open longer than expected. If you're doing rough-in during a cold snap, give expansion joints extra time (and extra caution) before pressure-testing the line.
Where to Buy
iCrimp IWS-1807CN PEX Crimping Tool Kit (with go/no-go gauge) on Amazon.ca
iCrimp IWS-1960DT PEX Expansion Tool Kit on Amazon.ca
As an Amazon Associate, IronField earns from qualifying purchases — the price you pay doesn't change.
Planning the tubing runs themselves? Radiant tubing layout for barndominiums covers pre-pour manifold planning, and the pre-pour checklist covers what to verify before the slab goes in.